This Extra Crispy Butterfly Chicken gets shatter-crisp skin from a simple dry brine and a little baking powder, no fancy equipment needed. It’s a budget-friendly, weeknight-easy dinner the whole family gobbles up.
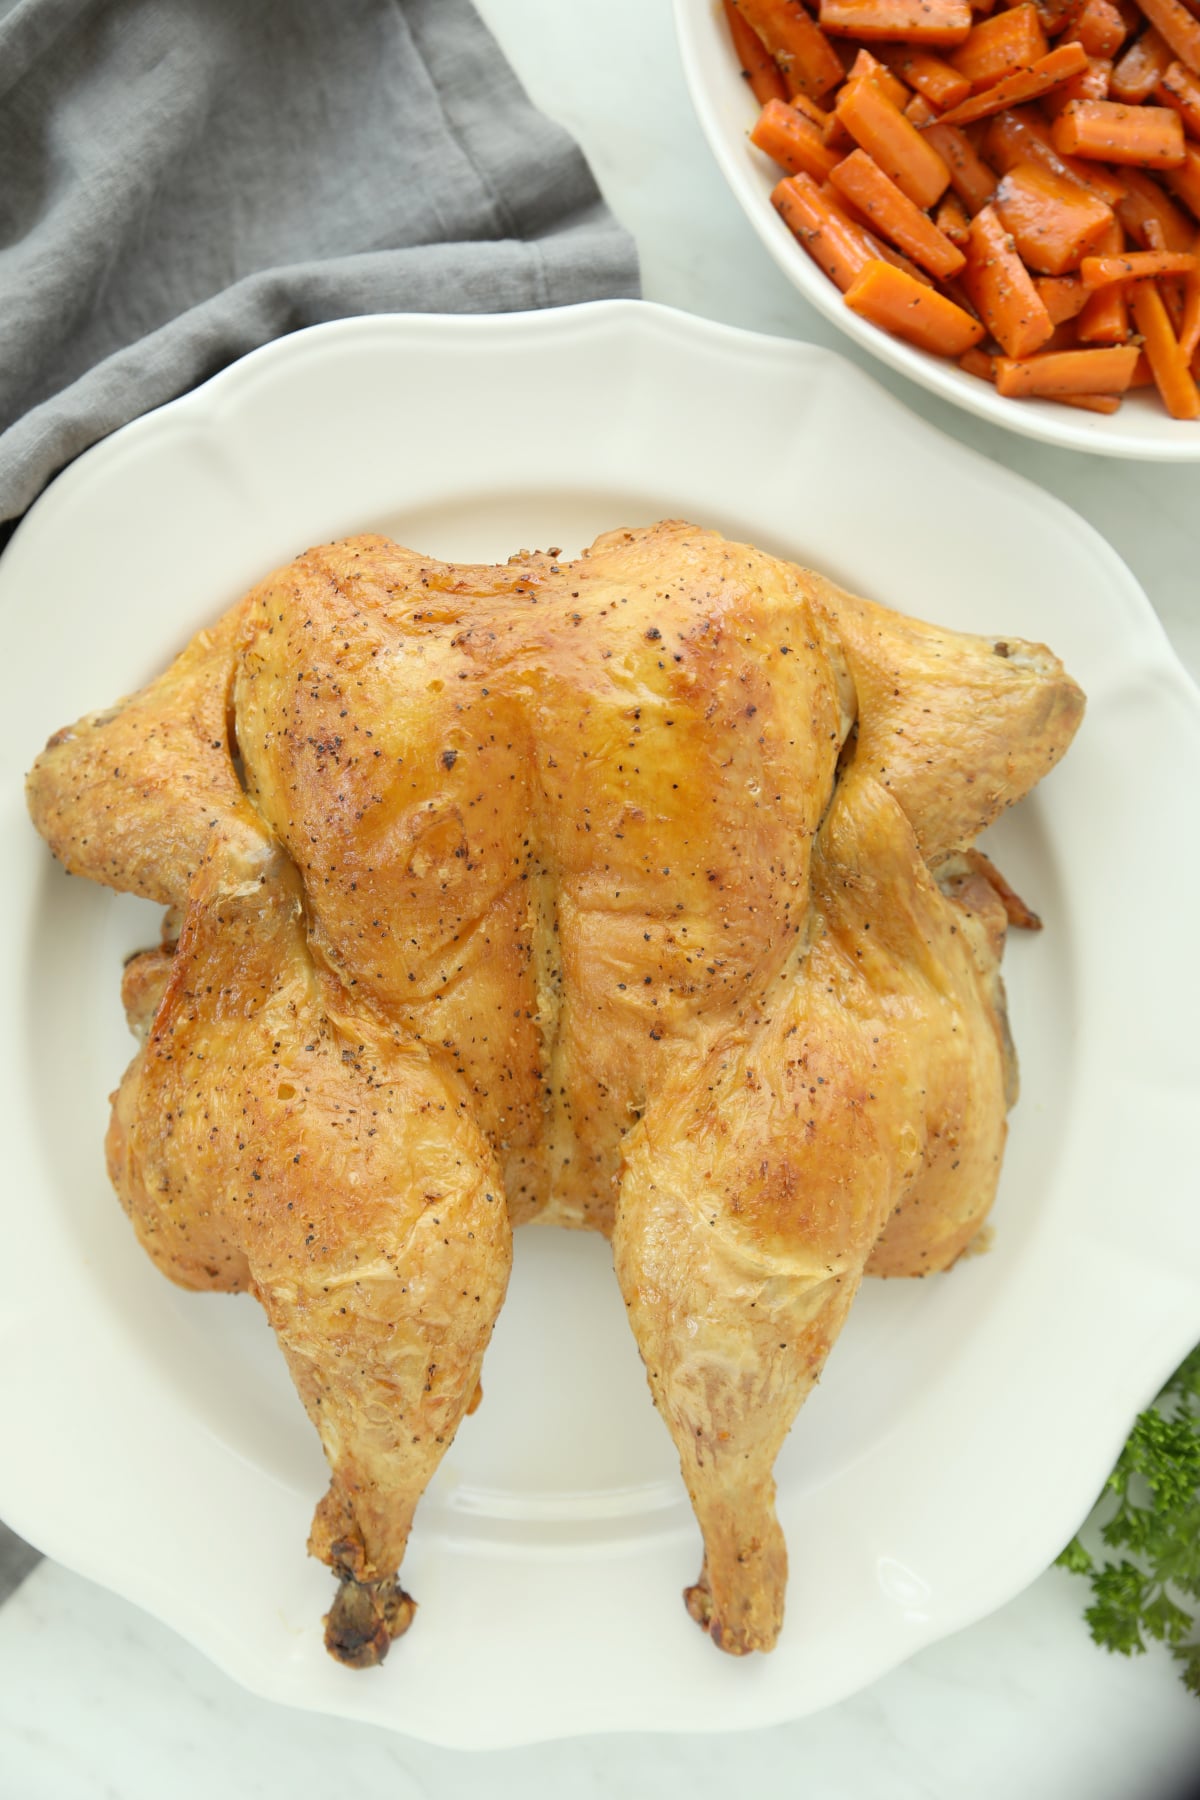
I originally shared this recipe back in 2014, and today I’m updating it with new photos, new information and extra tips!
There’s an old kitchen saying that you can judge a cook by their roast chicken. Learning to do it well is one of the most practical skills a home cook can have, especially since whole chickens are some of the cheapest meat at the store. This recipe uses a simple dry brine and a little baking powder for seriously crispy skin, no fancy equipment or hours of hands-on work required. Butterfly it, season it, and let the oven do the rest.
What Is Butterfly Chicken?
Butterflying means removing the backbone and pressing the chicken flat so it cooks in one even layer instead of an awkward round shape. It’s a small change that makes a big difference: the bird cooks faster, more evenly, and you get way more crispy skin in every bite. Here’s everything you need to know to pull it off perfectly.
Why This Butterfly Chicken Recipe Is Amazing
- Shatter-crisp skin, every time. The dry brine pulls out moisture and the baking powder helps it crisp up in a way regular roasting just can’t match
- Cooks fast and evenly, so you’re not stuck waiting on undercooked thighs while the breast dries out
- Barely any hands-on time. This recipe is about 5 minutes of prep, then the fridge and oven do the work
- Budget-friendly, since whole chickens are one of the cheapest proteins at the store
- Simple enough for a busy weeknight, but special enough when you want to make dinner feel a little more like an occasion
How to Spatchcock Chicken
You’ll also see this technique called spatchcocking. It’s the same technique as butterflying, just a different name.
- Remove the backbone. Using sharp, bone-capable kitchen shears, cut along both sides of the backbone and pull it out. Regular scissors aren’t built for chicken bones, so don’t try to force it with what’s in your junk drawer. Toss the backbone or roast it alongside the chicken and save it for stock or sauce (more in the FAQ below).
- Score the breastbone. Flip the chicken breast-side up and score down the center of the breastbone with a sharp knife, just enough to let it spread flat, not all the way through.
- Press it flat. Open the chicken like a book and press down gently until it lays flat. Scoring the bone first means you’re not wrestling it flat by hand the way you would trying to just crack it.
The Power of Dry Brining Chicken
Despite the name, no liquid is involved in a dry brine. It just means salting the chicken ahead of time and letting it sit uncovered in the fridge before it ever sees the oven.
That uncovered time is the whole point. It lets the surface of the skin dry out completely, and dry skin is what actually crisps up in high heat. Skip this step and you’re fighting extra moisture the entire time the chicken roasts. This is genuinely the biggest reason this chicken comes out shatter-crisp instead of just browned.
How to Dry Brine Chicken
- Set up the rack. Line a rimmed sheet pan with foil (or leave it bare) and set a wire rack inside. Lay the butterflied chicken cut-side down, skin-side up, on the rack so it’s spread out flat.
- Season and dust with baking powder. Combine the sea salt and black pepper, then sprinkle evenly over the skin and the cavity side. Flip the chicken back to skin-side up and carefully sprinkle the baking powder over the skin, trying to keep it from collecting in any crevices, since that can leave a slightly off flavor where it pools.
- Chill it, uncovered. Transfer the chicken, still on its rack and pan, uncovered, to the refrigerator for at least 3 hours and up to 24 hours. The salt seasons the meat all the way through and helps it hold onto moisture, while the baking powder dries out the skin so it crisps up dramatically better in the oven.
The longer it sits, up to that 24-hour mark, the crispier the skin gets, so it’s worth planning ahead if you can. My sweet spot is setting it up in the morning before breakfast, then roasting it at dinner time. This gets me a full day of drying out with no extra planning required. (Can I just say in my 40s I’ve come to really appreciate the power of a little dinner prep at breakfast time! Even just cutting up a few veggies I’m going to use for soup. It just takes the pressure off later in the day when I’m tired and life has been extra “special.”
How Long to Cook a Spatchcock Chicken
When you’re ready to roast, position an oven rack in the upper-middle position and preheat the oven to 450°F.
Drizzle the chicken skin with olive oil and rub it in evenly. Roast until the thickest part of the breast near the bone reads 150°F and the joint between the thigh and body reads at least 175°F. That usually takes 50 to 65 minutes, depending on the size of your bird.
I always roast on a wire rack set inside a rimmed sheet pan. Cooking the chicken up off the pan lets air circulate underneath, so the bottom doesn’t steam while the top crisps up. It’s the same setup I reach for constantly, not just for chicken but for cookies and cooling all sorts of baked goods.
A good rack and pan combo is one of those pieces of equipment that earns its keep a hundred different ways in your kitchen, well worth buying in high quality.
How To Get Your Roasted Chicken Cooked Safely
The only way to know your chicken is safely and perfectly cooked is with a good thermometer. Skip the giant metal probe from the grocery store. Those things punch a huge hole in the meat, let all your juices leak out, and they’re painfully slow to give you a reading. You need a thin probe that reads fast, so you’re not standing there with the oven door open losing heat while you wait.
I’ve recommended ThermoWorks for over ten years and think they make the best instant-read thermometers on the market. They have two great options: the ThermoPop, which comes in lots of fun colors and is accurate and easy on the wallet, or the Thermapen, their fastest and most precise model. Either one will serve you well and help you nail the perfect roast chicken.
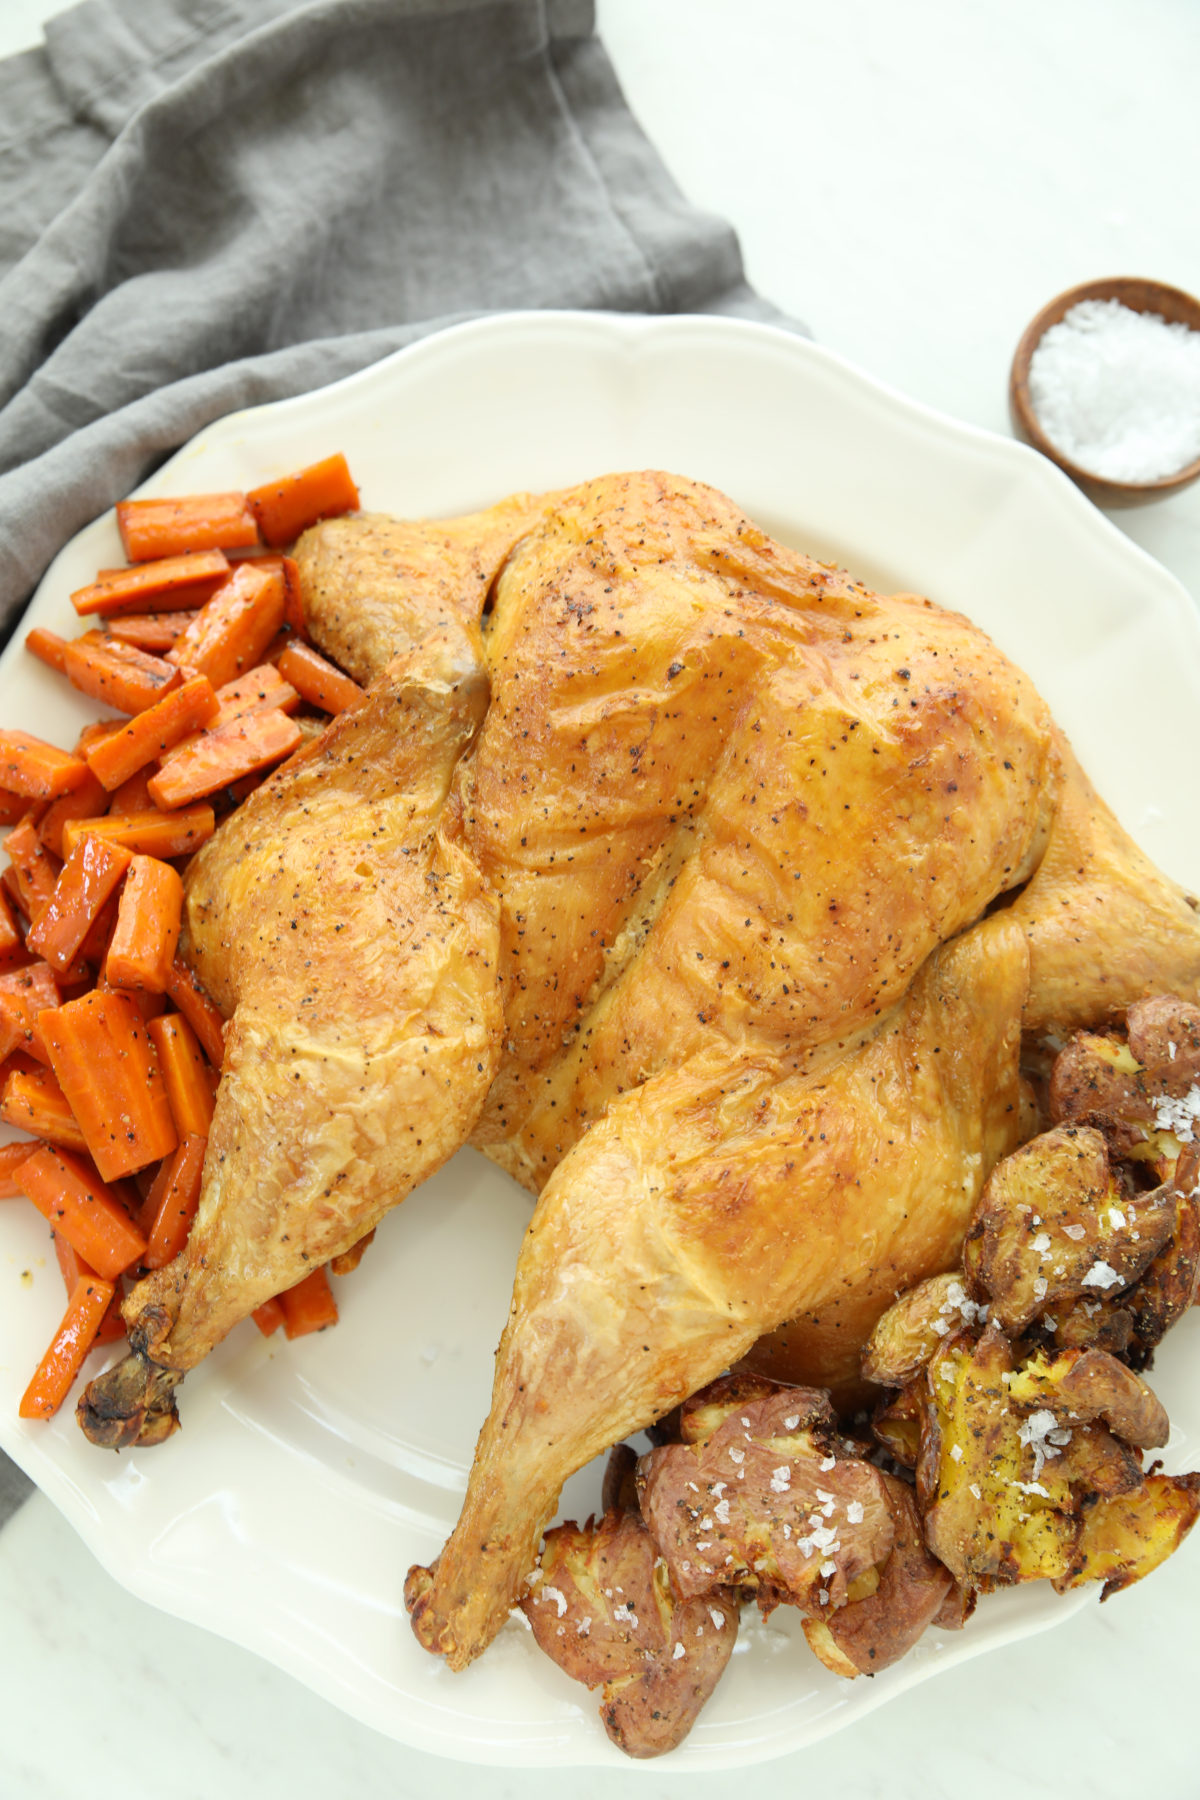
Once the chicken hits temperature, pull it out, transfer it to a cutting board, tent it loosely with foil, and let it rest for 5 minutes before carving. Serve with your favorite vegetables.
How to Carve a Butterflied Chicken
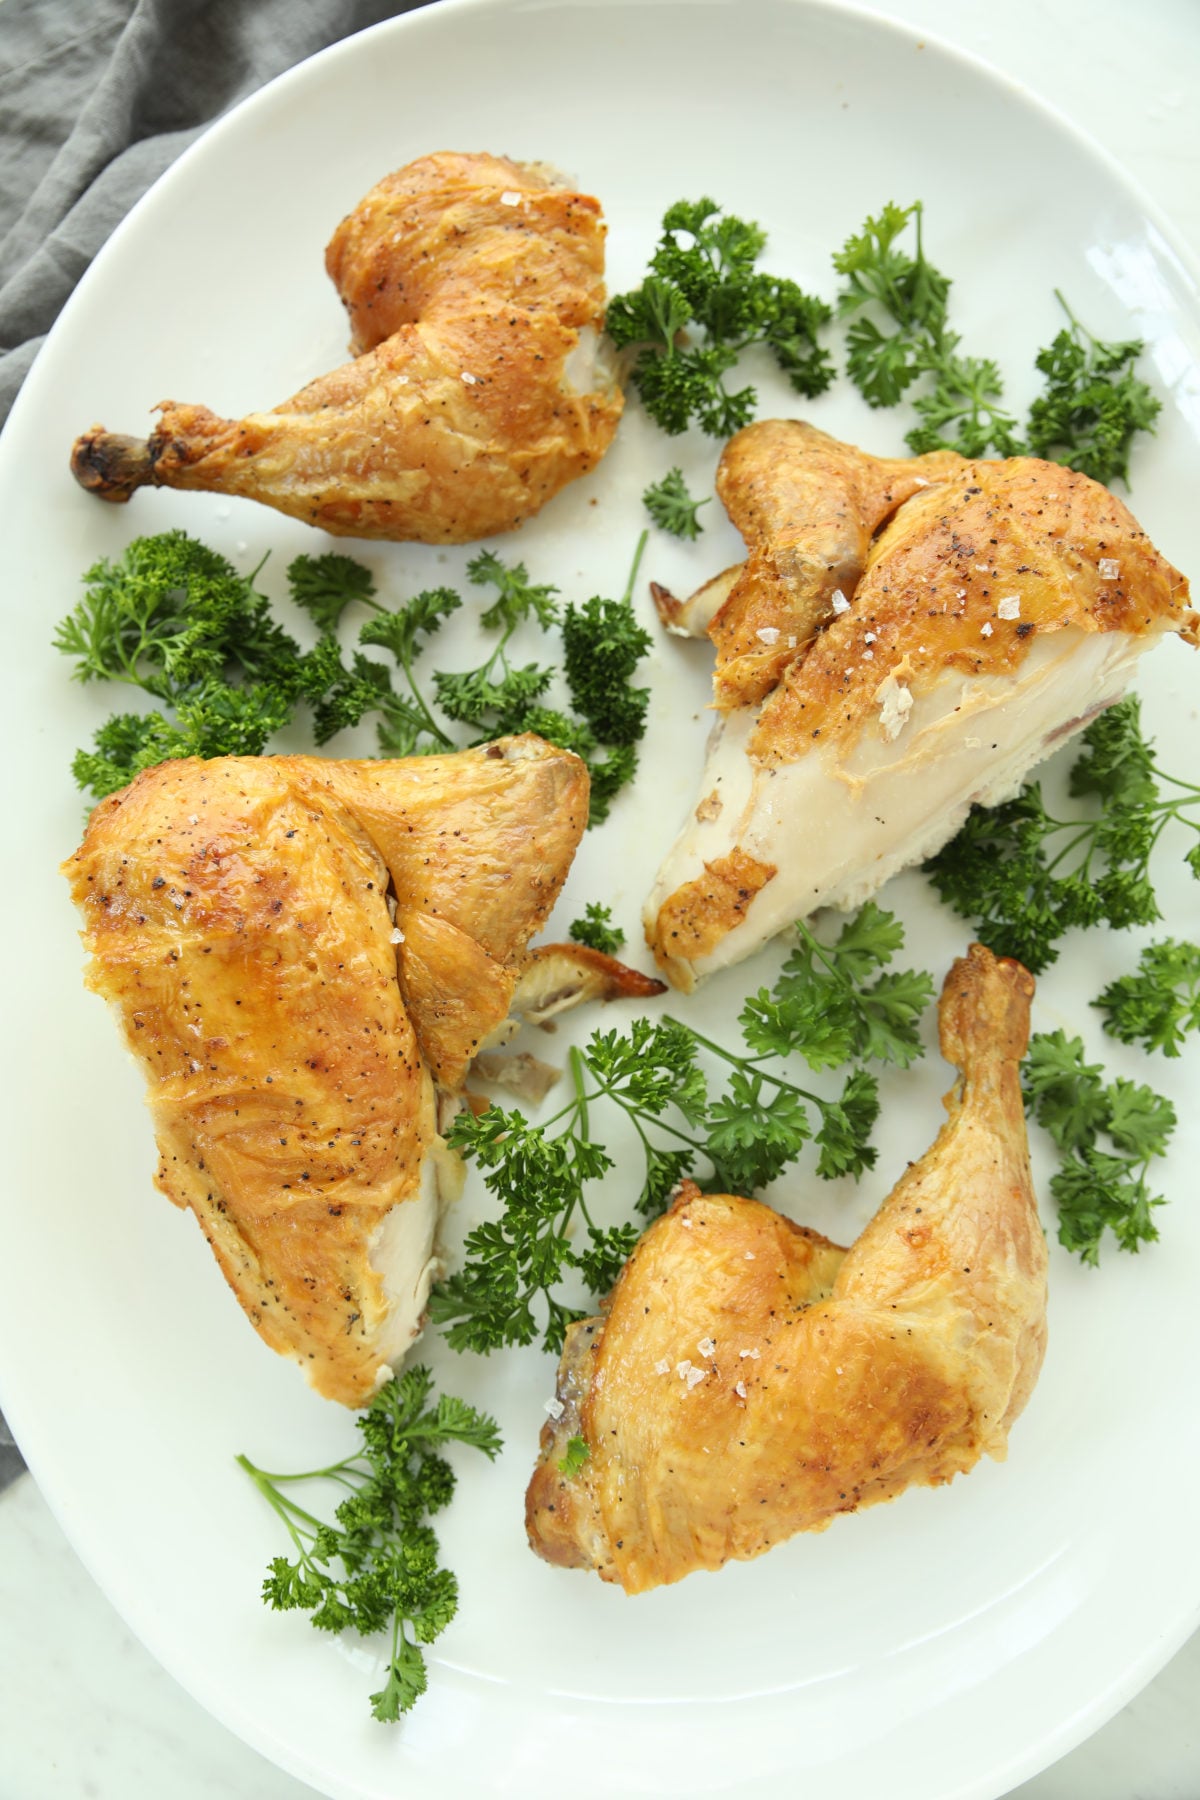
- Separate the legs. With the chicken breast-side up, pull each leg away from the body and slice through the joint where the thigh meets the body.
- Remove the wings. Pull each wing away from the breast and slice through the joint to remove it.
- Slice the breast. Run your knife along one side of the breastbone to release each breast half, then slice each half crosswise into pieces.
Whatever board you carve on, look for one with a juice groove around the edge. It catches all that flavorful chicken juice instead of letting it run off onto your counter, so you can spoon it right back over the meat when you serve it, or save it for gravy. The True Board makes a beautiful carving board. (My readers can get 10% off going through my link.)
FAQ
What Is Spatchcock Chicken?
Spatchcocking, also called butterflying, is a technique where you remove a whole chicken’s backbone and press it flat so it cooks in one even layer. It’s not a different recipe or cut of chicken, just a different way of preparing the same whole bird before it goes in the oven.
What Do I Do With the Backbone?
You can toss it or you can roast it right alongside the chicken on the same pan, then use it to make a quick stock or the base for a pan sauce. You could even roast it with this chicken and then freeze it and use it later to make stock.
How Far Ahead Can I Dry Brine the Chicken?
At least 3 hours, and up to 24 hours ahead. The longer the chicken sits in the fridge, the drier the skin gets before it hits the oven, which means crispier results. If you’re short on time, even the minimum 3 hours will still give you great flavor and good crisping. My sweet spot is very much starting it in the morning around breakfast and then roasting it for dinner. Let’s just say with three kids I don’t always remember to do things 24 hours in advance 😉
Do I Need Special Shears to Spatchcock a Chicken?
You’ll want a good pair, yes. Regular household scissors aren’t built to cut through chicken bones, and trying to force it usually ends badly for you, the scissors, or both. A sturdy pair of kitchen shears does the job cleanly and protects your hands from the strain of forcing dull blades through bone.
How Do I Store and Reheat Leftovers?
Store leftover chicken in an airtight container in the fridge for up to 5 days. Reheat gently in the oven or a covered skillet so it doesn’t dry out. And if you’ve got leftovers on hand, my Best Ever Chicken Salad is one of my favorite ways to use them up.
More Chicken Recipes
- Crispy Baked Chicken Thighs In Gravy
- 15 Minute Honey Garlic Chicken
- Sheet Pan Chicken Tikka
- Instant Pot Chicken and Rice with Mushrooms
Sides to Serve With It
- Best Mashed Potatoes
- Copycat Texas Roadhouse Rolls
- Slow Cooker Creamed Corn
- Sauteed Asparagus and Mushrooms
Extra Crispy Butterfly Chicken
Ingredients
- 1 whole chicken 4-5 pounds
- 1 Tablespoon olive oil (or other neutral oil)
- 1 Tablespoon fine grain sea salt
- 1/2 teaspoon coarsely ground black pepper
- 1 teaspoon baking powder
Instructions
Dry Brining (3-24 hours ahead of the meal)
- Note: I like to begin by making room in my refrigerator for the tray with the chicken.
- Using sharp kitchen shears or a very sharp knife, remove the backbone from the chicken. Set aside — you can roast it alongside the chicken for stock, or discard.
- Flip the chicken breast-side up and use a sharp knife to gently score down the center of the breastbone, just enough to let the two halves spread flat (not cutting all the way through).
- Line a rimmed sheet pan with foil (or leave bare, your preference) and set a wire rack inside it.
- Position the chicken cut-side down, skin-side up, on the rack, laid out flat like a butterfly.
- Combine the sea salt and black pepper in a small bowl, then sprinkle evenly over the chicken skin and cavity sides.
- Flip back to skin-side up, then carefully sprinkle the baking powder evenly over the skin — make sure it doesn't collect in any crevices, as that leads to a baking powder flavor.
- Transfer the chicken (still on the rack and pan) to the refrigerator, uncovered, for at least 3 and up to 24 hours.
Roasting The Chicken
- Place the oven rack in the upper middle position and preheat the oven to 450°F.
- Drizzle the chicken skin with the oil, rubbing it in to distribute evenly.
- Roast in the preheated oven until the thickest part of the breast near the bone registers 150°F on an instant-read thermometer, and the joint between the thighs and body registers at least 175°F. This will take 50-65 minutes depending on the size of the chicken. (See post for my strong opinions about cooking thermomotors.)
- Remove the chicken from the oven, transfer to a cutting board with juice groves, and let the chicken rest for 5 minutes before carving.
- Serve with your favorite side dishes. I enjoy mashed potatoes, rolls, and salad or asparagus.
Your Rating Matters
When you leave a comment or star rating, it means more than you might think. It helps me understand what you’re enjoying, builds trust for other readers, and supports real, tested cooking content. If you have a moment, I’d truly appreciate you sharing your experience. - Mirlandra
Nutrition Estimate
A Note on Nutrition
Nutritional info is an imperfect estimate. Please take it with a grain of salt.
Carlee says
That does look like a perfect roast chicken! What a great thing to have in your arsenal!
Mirlandra says
It really is amazing how easy a simple roast chicken can be and it is so handy (and cheap) to be able to make one at home!